A professional roof inspection in Jacksonville typically takes under an hour and includes a visual exterior review, an attic check for leaks or ventilation issues, and a written report outlining any repair needs. Homeowners searching for this service usually want to know what the inspector checks, how long it takes, and what happens after the report is delivered.
Choosing a qualified local roofing contractor in Jacksonville, FL, matters because Northeast Florida’s climate puts extra strain on shingles, flashing, and ventilation systems. Since 2001, we’ve performed residential and commercial roof inspections as part of our core services in the Jacksonville area. Understanding the inspection process helps homeowners prepare their property and interpret the findings with confidence.
Why Jacksonville Roofs Need Regular Inspections
Jacksonville’s combination of intense UV exposure, high humidity, and tropical storm activity accelerates roofing wear compared to drier inland climates. Routine inspections catch small issues before they become costly repairs.
- Afternoon heat and sun exposure cause shingles to dry out and curl over time.
- Wind-driven rain during storms can lift shingles or force water under flashing.
- Humidity encourages moisture buildup in attics if ventilation is inadequate.
Storm-related assessments often focus on the same vulnerable points. A methodical review typically starts with the roof system, since this is where the most common hurricane damage occurs, including missing or lifted shingles and damaged flashing around vents and chimneys, according to an insurance claim recovery guide.
The Exterior Inspection Process
What Inspectors Look For on the Roof Surface
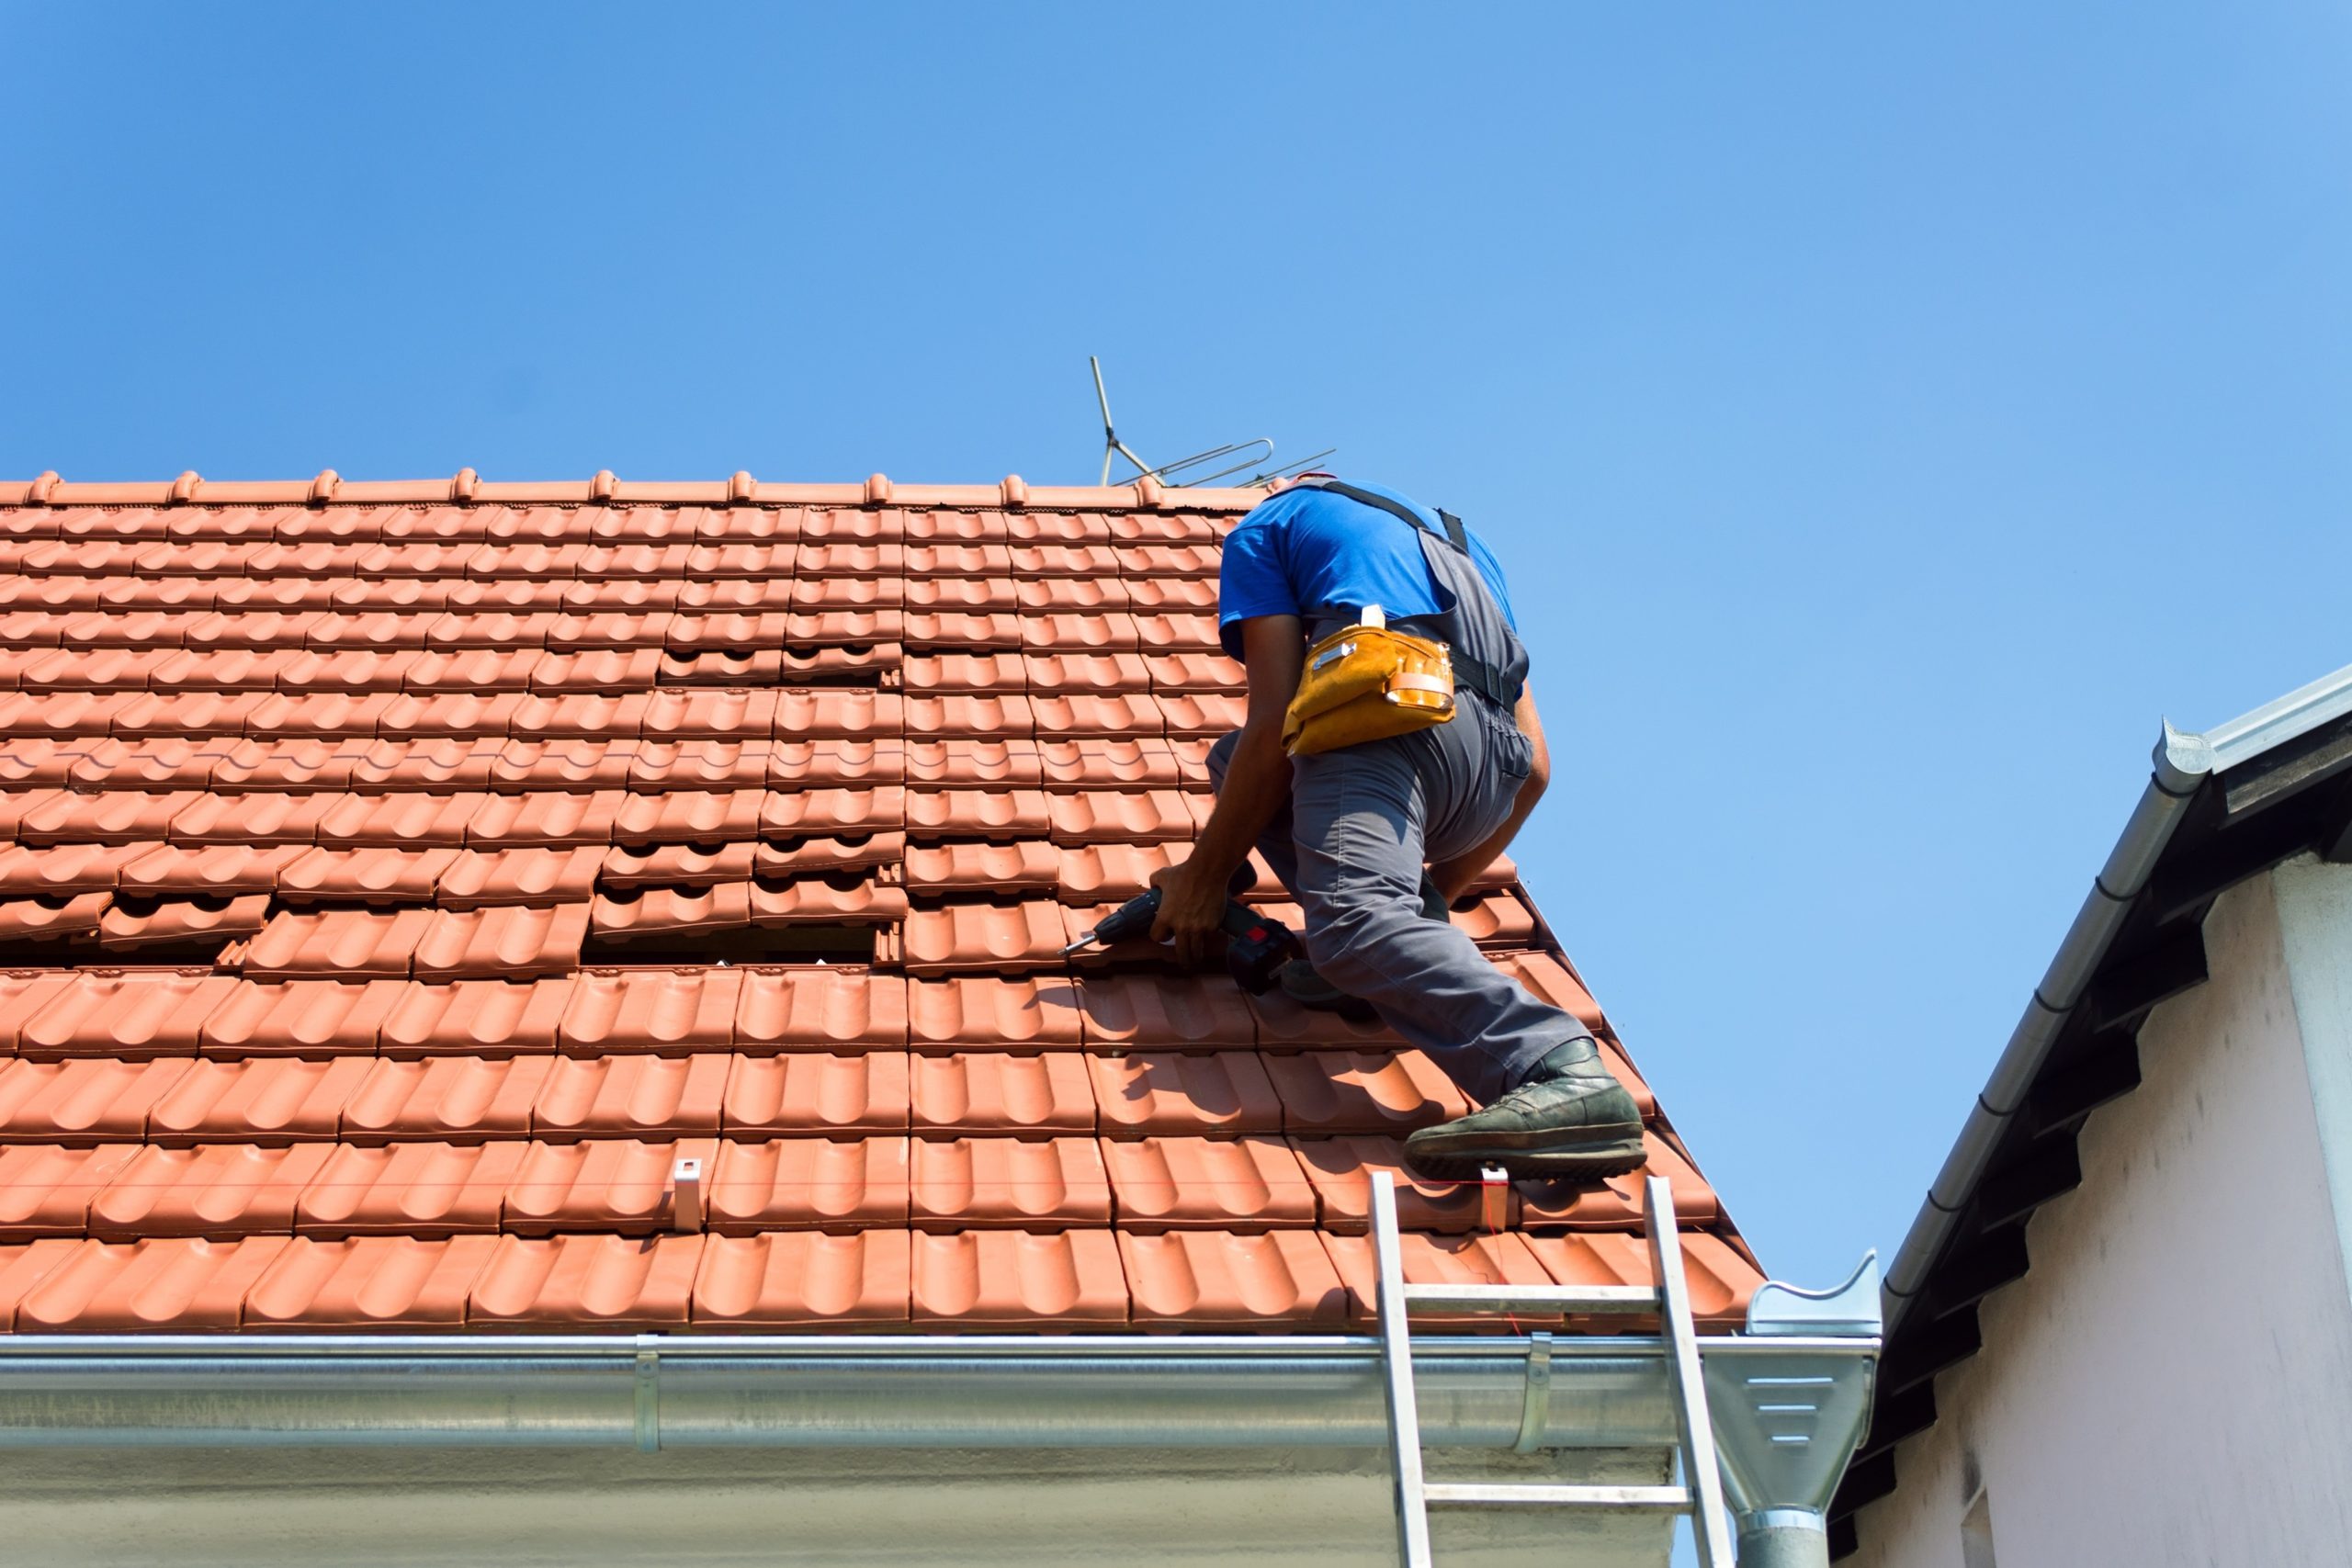
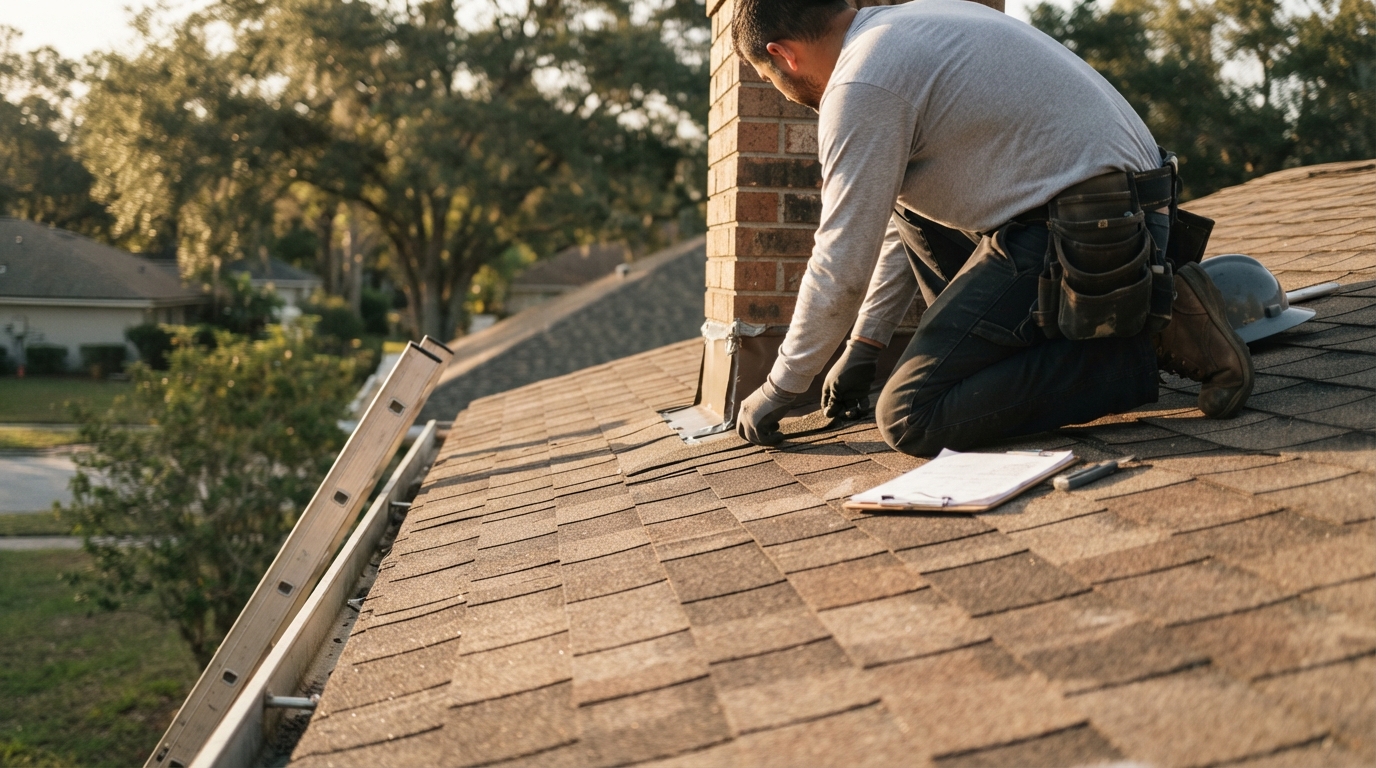
An inspector walks the roofline or uses a ladder to examine shingles, tiles, or metal panels up close. Common checkpoints include:
- Cracked, curling, or missing shingles
- Granule loss collecting in gutters, which signals wear
- Flashing condition around chimneys, vents, and skylights
- Signs of sagging or uneven roof planes
- Loose or exposed nails that could allow water intrusion
Flashing deserves particular attention because it is one of the most common sources of leaks, and inspectors look for metal that appears bent, pulled away, or not sealed tightly against the surface, per RoofServ’s inspection checklist.
Documenting Roof Condition
A thorough report names which roof areas were reached and which were not, since a vague note like “roof inspected” is weak if only one slope was visible from the ground, according to industry documentation guidance. Photos, measurements, and specific area labels give homeowners and insurance adjusters a clear record to work from.
Interior and Attic Checks
The exterior review is only half the process. Inspectors also check the attic and ceilings for signs of hidden moisture damage.
- Daylight visible through roof boards, which indicates gaps large enough for rain to enter
- Damp insulation, staining on the underside of decking, or musty odors
- Ceiling stains, soft spots, or bubbling paint on upper floors
These interior signs often point to moisture intrusion that has not yet reached living spaces below, as noted in a South Florida roof inspection checklist.
Inspection Methods Compared
| Inspection Method | Best Used For | Limitations |
| Ground-level visual walk | Quick initial assessment | Cannot detect subtle flashing or deck issues |
| Ladder or roof-access inspection | Close-up shingle and flashing review | Weather and safety conditions must allow access |
| Attic and interior check | Finding hidden leaks and ventilation problems | Limited to areas accessible from inside the home |
| Drone or camera pole review | Hard-to-reach or steep roof sections | Image quality depends on weather and lighting |
What Happens After the Inspection
Once the inspection is complete, the contractor typically reviews findings with the homeowner and outlines next steps. This may include minor repairs, flashing resealing, or a full replacement estimate if damage is extensive. All work performed by a licensed Jacksonville contractor should meet Florida Hurricane Mitigation specifications and current building codes, which helps protect both the roof’s performance and any related insurance claims.
Frequently Asked Questions
How long does a roof inspection take? Most residential inspections take between 30 minutes and an hour, depending on roof size, pitch, and whether attic access is included.
Do I need an inspection after every storm? A post-storm check is a good idea any time winds exceed typical seasonal levels or visible debris lands on the roof, since hidden damage like soft decking is not always obvious from the ground.
Can an inspection help with insurance claims? Yes. A detailed written report with photos and specific area documentation gives adjusters clear evidence of pre-existing condition versus storm-caused damage.
Is a roof inspection free? Policies vary by contractor. Many Jacksonville roofing companies, including Top Gun Roofing, offer free inspections paired with repair or replacement estimates.
A professional roof inspection gives Jacksonville homeowners a clear picture of their roof’s condition before small issues turn into expensive repairs. Scheduling a routine check, especially before and after hurricane season, helps protect the home’s structure and supports any future insurance documentation. Homeowners who want a licensed, local assessment can reach out to a qualified roofing contractor to schedule a visit and receive a written summary of findings.